
Table of Contents
- When Is Professional Installation Required for Gear?
- Does DIY Installation Void Vehicle Warranty?
- Essential Tools for Offroad Gear Installation
- DIY vs. Professional Installation: Trade-Offs and Risks
- Best Practices for Mounting Overlanding Accessories
- How to Assess Your Skill Level Before Installing
- Post-Installation Validation and Troubleshooting
- Conclusion
Last Updated: August 21, 2026
When Is Professional Installation Required for Gear?
Professional installation is required depending on what you're upgrading and your technical proficiency. Some gear is plug-and-play; others involve calibration, specialized tools, or knowledge of your vehicle's electrical architecture that most DIYers lack. The answer hinges on three factors: system complexity, your skill level, and the consequences of installation failure.
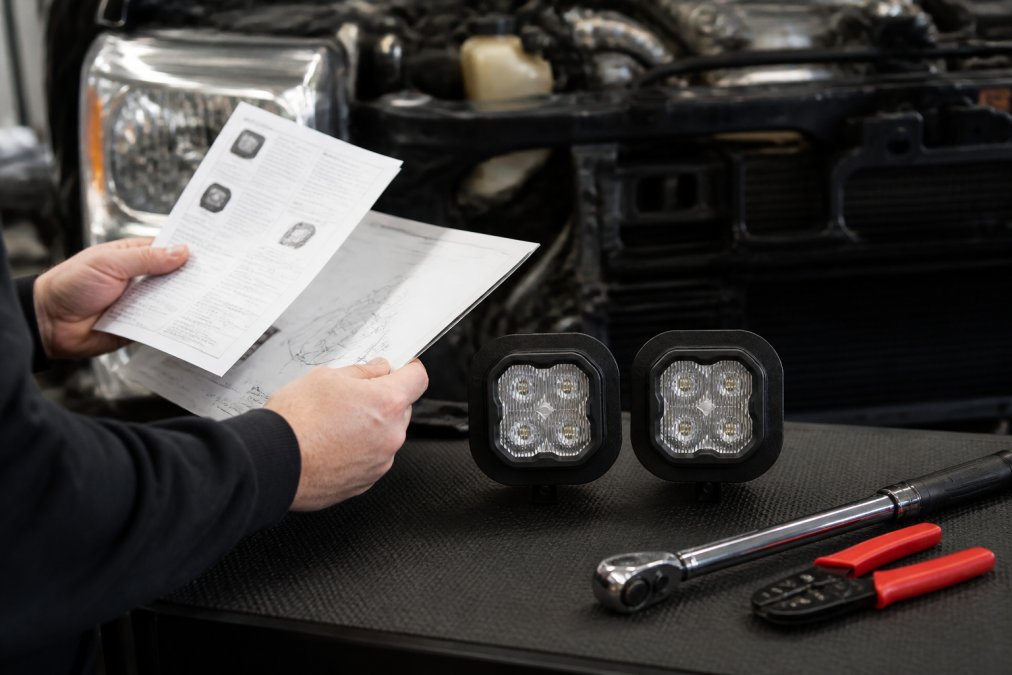
A seasoned off-road enthusiast might confidently install LED lighting that would overwhelm someone tackling their first modification. Understanding where your project falls on that spectrum saves money, time, and headaches.
Does DIY Installation Void Vehicle Warranty?
DIY installation can void your vehicle warranty, but only under specific circumstances. The Magnuson-Moss Warranty Act protects consumers from blanket warranty denials. Manufacturers cannot void your entire warranty because you installed an aftermarket part; they can only deny coverage for failures directly caused by that modification.
If you install LED fog lights and they fail, the manufacturer won't cover the lights. But if those lights damage your vehicle's electrical system and cause an unrelated engine component to fail, the manufacturer must prove the modification caused that failure before denying coverage.
Professional installation from a certified technician creates a paper trail and shifts liability. If something goes wrong, you have documentation that the work was performed to manufacturer specifications. The warranty question becomes more serious with high-voltage systems and structural modifications, where mistakes can damage the roof structure or create electrical fire risks.
Essential Tools for Offroad Gear Installation
Installing overlanding gear requires more than a basic socket set. Certain items appear across nearly every project.
Electrical work demands a quality multimeter, wire crimpers, and a heat gun for shrink tubing. If you're working with high-voltage systems, you need a proper wire gauge tool to ensure connections handle the amperage. Undersized wiring on LED light bars creates heat buildup and fire risk. A multimeter costs thirty dollars and prevents catastrophic mistakes.
Structural mounting requires a torque wrench. Bolts holding roof racks, bumpers, or light bars need specific tension values. Too loose and the component vibrates free; too tight and you strip threads or crack mounting points. A basic torque wrench runs fifty to eighty dollars and is non-negotiable for safety-critical systems.
Calibration tools matter for some installations. LED light kits often need aim adjustment to prevent blinding oncoming traffic. Professional shops have this equipment; most DIYers don't.
Specialized equipment varies by project. Installing a winch requires a load-rated anchor point and proper rigging knowledge. Setting up a roof tent demands understanding weight distribution and structural load paths.
If you lack specialized tools, professional installation often costs less than buying them for a one-time project. If you're planning multiple upgrades, building a tool collection makes sense.
DIY vs. Professional Installation: Trade-Offs and Risks
The DIY versus professional decision hinges on complexity, liability tolerance, and time investment.
DIY installation advantages include lower out-of-pocket cost and complete control. For straightforward bolt-on modifications, roof racks, recovery points, cargo boxes, DIY makes sense if you have basic mechanical confidence.
Professional installation advantages include warranty protection, specialized equipment access, and liability transfer. A certified technician assumes responsibility if something goes wrong and carries insurance. For complex systems, this matters significantly.
The risk calculus changes with system criticality. Installing a cargo box is low-risk. Modifying your vehicle's electrical architecture to support a high-amperage auxiliary battery system is high-risk. The latter involves understanding your vehicle's charging system, battery capacity, wire gauge requirements, and fuse sizing. A mistake creates a fire hazard or leaves you stranded.
Complexity of High-Voltage Systems
High-voltage electrical work represents the clearest boundary between DIY-appropriate and professional-required installations. LED light bars, auxiliary battery systems, and winch setups all involve currents that can cause fires if wired incorrectly.
Most vehicle electrical systems run 12 volts. Modern LED lighting systems, however, often draw 50-100+ amps (peer-reviewed research). At that amperage, undersized wiring generates heat. Loose connections create resistance. Poor grounding creates voltage drops. Any of these failures can ignite the wiring harness.
Professional installers understand load calculations, wire gauge selection, and fuse sizing. They know how to integrate new systems with your vehicle's existing electrical architecture without overloading circuits. They use proper connectors rated for the amperage and environmental conditions.
A DIYer might wire everything correctly by pure luck or create a latent fire hazard that manifests months later on a remote trail. The consequences of failure, vehicle fire, stranded in the wilderness, potential injury, justify professional involvement for high-voltage work.
Precision Upgrades offers LED light kits like the KC HiLiTES Gravity Titan system (starting at $2,999.98 for Ford F-150 applications) that integrate with your vehicle's existing systems. These require understanding your vehicle's electrical capacity and proper integration with factory systems. Professional installation ensures everything functions safely under load.
Structural Integrity and Safety-Critical Concerns
Roof racks, light bars, and winches all impose structural loads on your vehicle. Improper installation compromises chassis integrity and safety in collision scenarios.
A roof-mounted light bar weighs 40-80 pounds, sitting 5-6 feet above the vehicle's center of gravity, creating stress on the roof structure (nhtsa.gov). Installation requires drilling into the roof panel, which weakens structural integrity at that point. Mounting bolts must be sized correctly and torqued to specification.
Winches present even more critical concerns. A typical winch generates 8,000-12,000 pounds of pulling force concentrated at the mounting point (sae.org). If the bumper or frame isn't reinforced adequately, the winch pull can tear the mounting point free or collapse the frame. Professional installers understand the structural requirements and reinforce accordingly.
Best Practices for Mounting Overlanding Accessories
If you proceed with DIY installation, follow these practices to minimize risk and ensure longevity.
Start with the manual. Manufacturer installation instructions specify torque values, wire gauge requirements, grounding points, and integration procedures. Skipping the manual is the fastest path to failure.
Verify compatibility. Your vehicle's year, model, and trim level matter enormously. A roof rack designed for a 2015 Toyota 4Runner won't fit a 2020 model. Electrical systems vary by year. LED lighting kits specify compatibility for a reason.
Invest in proper tools. A torque wrench, quality multimeter, and wire crimpers are non-negotiable. Estimates matter. Proper crimping matters. Correct torque values matter.
Test before committing. If you're working with electrical systems, perform a test installation before final mounting. Connect everything, verify function, then disconnect and secure properly. This catches wiring mistakes before they create fire hazards.
Document everything. Photograph your work at each stage. Keep receipts for parts and tools. Document when you performed the installation. This creates a record if warranty disputes arise and helps future troubleshooting.
Know your limits. Some modifications simply exceed DIY capability. If you're uncertain about electrical work, structural modifications, or calibration requirements, professional installation is the correct choice.
How to Assess Your Skill Level Before Installing
Honest self-assessment prevents costly mistakes. Have you completed similar modifications before? Previous experience matters. If you've installed aftermarket lighting or roof racks successfully, you understand the process. First-time installers should start with straightforward projects before tackling complex systems.
Do you understand basic automotive electrical? Can you identify positive and negative terminals? Can you read a wiring diagram? If these concepts feel foreign, electrical work isn't appropriate for DIY.
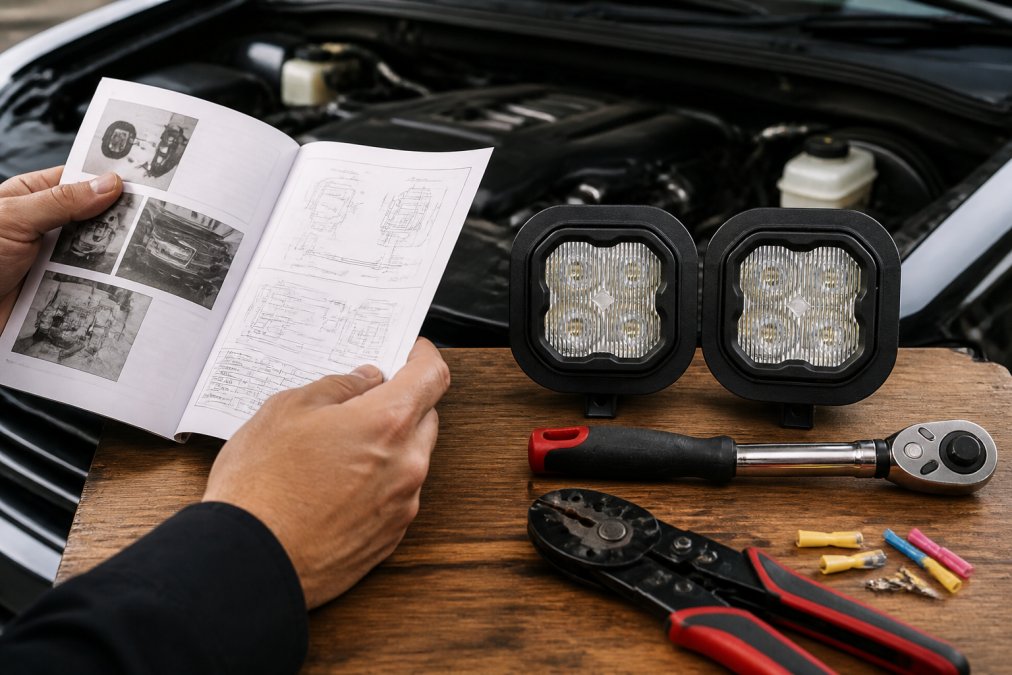
Do you have access to proper tools and a suitable work environment? Installing gear in a parking lot with a basic wrench set differs from working in a well-lit garage with proper equipment.
Can you troubleshoot problems if something goes wrong? Professional installers can diagnose and correct mistakes. DIYers often can't.
Are you comfortable with the failure consequences? For cargo boxes, failure means lost gear. For electrical systems, failure means potential fire. For structural modifications, failure means safety hazards.
Start with a project that has minimal consequences if it fails. A cargo box installation teaches you the process without creating safety hazards. Success builds confidence for more complex projects.
Post-Installation Validation and Troubleshooting
After installation, validate that everything functions correctly before hitting the trail.
Electrical systems need functional testing. LED lights should illuminate at full brightness. Auxiliary battery systems should charge during driving. Winch systems should operate smoothly under load.
Structural modifications need visual inspection. Bolts should be tight. Welds should be clean and complete. Mounting points should show no cracks or stress marks. Roof-mounted gear should not shift or rattle.
Calibration-dependent systems need specific validation. LED light bars should aim correctly without blinding oncoming traffic. Auxiliary lighting should illuminate the trail without harsh shadows.
Integration checks ensure new systems don't conflict with factory systems. Some LED lighting kits create voltage spikes that affect engine computers if wired incorrectly. Auxiliary batteries can overcharge if not properly regulated.
Keep documentation of your validation process. If problems arise later, you have a record of what functioned correctly at installation. If something malfunctions, you have recourse. DIY installations leave you responsible for troubleshooting and correction.
The question of whether professional installation is required for gear depends on the system, your capabilities, and your risk tolerance. Simple bolt-on modifications suit DIY approaches. High-voltage electrical work, structural modifications, and safety-critical systems demand professional involvement. Precision Upgrades provides premium overlanding gear like the Diode Dynamics SS3 LED Pro Fog Light Kit ($499.95 for Ford Super Duty applications) that integrates with your vehicle's existing systems. Whether you handle installation yourself or engage a professional, proper installation ensures your gear performs reliably when you need it most. Start with honest self-assessment, invest in proper tools and knowledge, and don't hesitate to defer to professionals when the stakes justify it. Your next adventure depends on equipment that works, and that starts with installation done right.
Frequently Asked Questions
Q: Does installing my own gear void the manufacturer's warranty?
A: Not automatically. Many manufacturers honor warranties for DIY installations as long as you follow the installation manual precisely and don't damage components. However, some brands void coverage if improper installation causes failure. Always check your specific product's warranty documentation before starting. If you deviate from manufacturer guidelines or use non-approved parts, you risk losing warranty protection. Keep receipts and photos of your installation to document compliance.
Q: What are the risks of DIY installation for high-voltage LED lighting systems?
A: High-voltage systems like LED light bars carry serious safety and performance risks if wired incorrectly. Improper electrical connections can cause fires, damage your vehicle's electrical system, or create shock hazards. Poor calibration may result in uneven light output or premature failure. If you lack experience with automotive electrical work, professional installation is strongly recommended.
Q: What tools do I need to install overlanding gear myself?
A: Essential tools include a socket set, torque wrench (for precise fastening), wire crimpers, electrical tester, and an installation kit specific to your vehicle model. For LED lighting, you'll also need a multimeter to verify electrical connections. Many overlanding accessories require specialized mounting brackets and hardware. Before starting, verify that you have every tool listed in the manufacturer's installation manual. Lacking proper tools often leads to mechanical failure, stripped bolts, or incomplete assembly that compromises structural integrity.
Q: How do I know if I have the right skill level to install gear myself?
A: Assess your experience with basic automotive work: Have you changed your own oil, replaced brake pads, or installed simple accessories? Can you read and follow technical specifications? Are you comfortable working with electrical systems and using a torque wrench? If you answer no to any of these, consider professional installation. Start with lower-risk items like cargo storage before attempting complex systems. Review the installation manual beforehand, if it exceeds your comfort level, hiring a certified technician prevents costly mistakes and protects your investment.
This article was written using GrandRanker